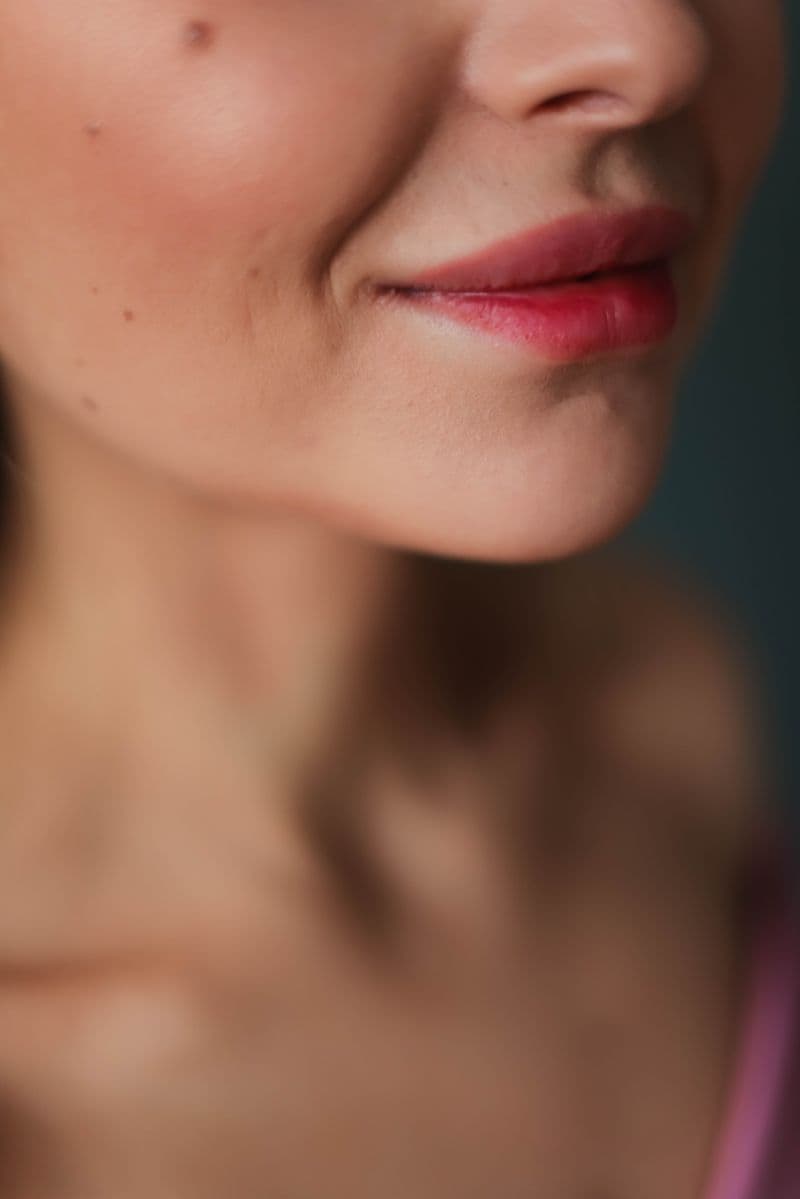
Lip blush color looks dramatically darker for the first 3–5 days, nearly disappears around days 7–21, then resettles at its true final tone by weeks 4–6. If this sounds alarming, you are not alone — the healing arc of lip blush is one of the most emotionally volatile in aesthetic treatments, and the reason is simple: the lips change so visibly, and so dramatically, that clients frequently believe something has gone wrong when they are in the middle of a completely normal healing process.
This guide tells you exactly what to expect at each stage, what the aftercare looks like day by day, and which specific behaviors in the first two weeks determine how much pigment you permanently retain.
What Lip Blush Is Doing to Your Lips
Lip blush is a form of cosmetic tattooing that deposits pigment into the vermilion zone of the lips — the outer border and the lip body — using a rotary machine or manual technique with fine needles. Unlike permanent lip liner (which creates a hard, defined edge), lip blush is shaded to mimic a natural, blurred flush of color.
The needles work in the mucosa and mucosal-skin junction — a highly vascular, sensitive tissue that heals differently from regular skin. Key differences:
- Higher vascularity: More blood vessels mean more swelling and bruising post-treatment
- Faster cell turnover: The lip mucosa renews itself faster than facial skin, which means pigment fades faster than, say, a tattoo on the arm
- Thinner tissue: The lip mucosa is thinner than facial dermis, making precise depth control critical
- No melanin in the vermilion: The lip border has no UV-protective melanin — pigment placed here can shift in tone over time without SPF protection
These properties explain why lip blush healing looks so dramatic, why the ghosting phase is so pronounced, and why touch-up appointments are an essential part of the process.
The Healing Stages: Day by Day
Day 0 — Treatment day: Bold, swollen, and dark
Immediately after lip blush, the lips will appear significantly more vibrant and saturated than the final result. This is expected. What you are seeing is:
- Surface pigment sitting in the outermost layer of the lip mucosa
- Inflammatory swelling that enlarges the lip and makes color appear more intense
- Redness of the surrounding skin from needle trauma
The lips may also feel warm, tender, and tight. Some pinpoint bleeding at needle sites is normal and resolves within an hour.
Aftercare:
- Apply the healing balm your artist provided generously and immediately
- Hold a cold, damp cloth (not ice) gently against the lips for 10-minute intervals during the first few hours
- Drink through a straw; avoid hot drinks
- Eat soft, cool foods only for the rest of the day
- Do not kiss, stretch, or press the lips together hard
- Sleep on a fresh pillowcase; avoid sleeping face-down
Days 1–3: Peak darkness and swelling
The lips remain significantly darker than the intended final result during this window. Swelling peaks at 24–48 hours — some clients find the lips look almost comically large and intensely colored. First-time lip blush clients almost universally think they have been "overfilled" at this stage.
You have not. The swelling is creating volume that is not part of the final result, and the surface pigment is creating color that will partially shed with the healing skin.
Crusting or very fine scabbing may begin to appear at the lip border and in the body of the lip. This is normal. Do not pick.
Aftercare:
- Apply healing balm every 1–2 hours or whenever lips feel dry or tight
- Do not pick, peel, or scratch any crusting — this is the most critical rule of the entire healing process
- Avoid spicy, salty, or acidic food
- Drink through a straw; avoid cutlery pressing against the lip border
- No makeup on or over the lips
- No kissing — pressure and bacteria transfer both risk the healing
- No oral contact with other people's saliva (herpes simplex risk — some artists prescribe prophylactic antivirals for patients with a cold sore history)
- Lukewarm water only near the lips; no hot beverages
Days 4–7: Peeling begins
This is the most alarming phase for clients who are not prepared. The outermost layer of the lip mucosa begins to peel and shed, taking surface pigment with it. The color may appear to lift in patches, leaving behind areas that look lighter or even skin-toned.
The peeling is not removing your permanent pigment. The permanent pigment is in the dermis, below the shedding layer. The peeling is removing the surface pigment — which was never intended to be permanent. What remains in the dermis will become visible as the new healed tissue matures.
This is exactly analogous to the peeling phase of microblading healing, and the instructions are identical: do not peel, pull, or pick the skin. Forcing skin to come away before it naturally detaches pulls dermal pigment out with it, creating patchy, uneven results that require more touch-up work to correct.
Aftercare:
- Continue healing balm application, particularly over areas that are peeling — keeping them moist reduces the sensation of tightness and reduces the temptation to pick
- Do not scrub the lips with a washcloth, toothbrush, or any texture
- When brushing teeth, use a soft-bristled brush and be careful not to brush over the healing lip border
- Continue avoiding spicy, acidic, and salty foods
- No workouts if you are sweating onto the face
Days 7–14: Ghosting phase begins
By day 7–10, most of the surface peeling has resolved. The lips look smoother and more healed. But here comes the part that no one expects: the color looks dramatically lighter — sometimes barely visible — compared to day 1. Many clients at this stage feel certain the procedure has failed.
This is the ghosting phase, and it is completely normal.
What is happening: the surface pigment has shed with the healing skin. The dermal pigment is present, but the new layer of healed tissue covering it is temporarily opaque (cells are densely packed and not yet fully differentiated). As the new epidermal layer matures over the following weeks, it becomes more translucent and the pigment below becomes visible again.
During this phase:
- Do not book a touch-up yet — you are not seeing your final result
- Do not apply lipstick or lip liner to "fill in" over healing tissue (wait until all peeling is completely resolved)
- Continue SPF on the lips if outdoors (UV breaks down lip pigment)
- Continue healing balm if any dryness remains
Weeks 3–4: Color resurfaces
Gradually, the lip color becomes visible again — lighter and more natural than day 1, but clearly present. The exact tone and saturation of what you see during weeks 3–4 is approaching (but not yet) your final result.
Most clients at this stage feel relieved but notice unevenness — some areas retained more pigment than others. This is normal and is corrected at the touch-up.
Weeks 5–6: Final result
At 6 weeks, the pigment has fully settled and integrated. This is the moment to assess your result honestly:
- Color: Is the tone and warmth what you wanted? Pigment can shift slightly (cooler, warmer, lighter) depending on your skin's undertones.
- Coverage: Are there areas that held pigment well and areas with gaps?
- Shape: Does the border feel natural and even?
Book your touch-up at 6–8 weeks. This is not optional — it is the second half of the procedure. Most reputable artists include the touch-up in their initial price precisely because they know that the first session alone does not produce the final result.
The Five Aftercare Rules That Determine Pigment Retention
1. Keep lips moist at all times for the first 10 days
The single behavior most correlated with good pigment retention is consistent healing balm application. Moist healing allows the outermost skin layer to shed naturally and gradually, minimizing how much dermal pigment is disrupted in the process. Dry healing produces thick, adherent scabs that, when they eventually detach, remove more pigment with them.
Apply your healing balm every 1–2 hours during waking hours for the first 7 days, then as needed through day 14.
2. Do not peel — under any circumstances
Premature removal of peeling skin is the number one cause of patchy, uneven lip blush results. Each time you pick or peel, you remove pigment that was anchoring in the dermis. By the time the healing is complete, the areas where you picked will show gaps that need touch-up correction.
If the urge to pick is overwhelming, apply more balm. The moist environment softens the peeling skin and makes it feel less "ready to remove."
3. Avoid sun exposure — SPF on lips, always
The vermilion of the lip has essentially no UV protection of its own (no melanin). UV breaks down cosmetic pigment molecules the same way it fades tattoos. Daily SPF application on the lips — either a dedicated lip SPF balm or coverage from your face sunscreen — extends the life of your results significantly. Without SPF, lip blush can fade noticeably in as little as 6–9 months; with consistent SPF, the same result can last 2–3 years.
4. Avoid herpes simplex triggers for 2 weeks
Lip blush involves needle trauma to the entire lip surface. In patients who carry the herpes simplex virus (which includes a significant portion of the population, many asymptomatically), the trauma of the procedure can trigger a cold sore outbreak during healing. A cold sore during healing disrupts the skin, causes localized inflammation, and can permanently affect pigment retention in affected areas.
If you have a history of cold sores, discuss antiviral prophylaxis (acyclovir or valacyclovir) with your artist or prescribing provider before your appointment. If you notice any tingling, burning, or small blisters appearing on or around the lips in the first 2 weeks, contact your provider immediately.
5. No active skincare products on or near the lip border for 4 weeks
Retinol, AHAs, and vitamin C accelerate epidermal turnover — the mechanism that causes lip blush pigment to fade faster. Keep these products away from the lip border (at least 0.5cm clearance) during healing, and consider applying them only below the nose level in your long-term routine to protect your investment.
Foods to Avoid and Foods That Are Fine
Avoid for the first 7–10 days:
- Spicy food (capsaicin causes vasodilation and irritation in healing tissue)
- Acidic foods: citrus fruits, tomatoes, vinegar-based dressings
- Very salty foods (sodium increases water retention and swelling)
- Very hot food and drinks (raises tissue temperature, worsens inflammation)
- Alcohol (vasodilator, worsens swelling and bruising)
- Crunchy foods requiring significant lip pressure
Fine from day 1:
- Cool, soft foods: yogurt, smoothies, oatmeal, soft cooked vegetables
- Room temperature or cool beverages through a straw
- Protein: soft chicken, fish, eggs (avoid hot preparations)
- Most normal foods eaten carefully with a fork, avoiding contact with the lip border
When to Contact Your Artist or Provider
Normal: Dark color days 1–3, swelling peaking at 24–48 hours, peeling and lightening days 5–10, ghosting weeks 2–3, gradual color return weeks 3–6, some unevenness resolved at touch-up
Contact your artist if:
- Signs of allergic reaction to pigment: widespread redness, itching, raised welts beyond the lip area
- Signs of infection: fever, lips hot to touch, pus, increasing pain after 48 hours
- Cold sore outbreak during healing (requires antivirals, may affect the healing outcome)
- Significant swelling that does not begin resolving after 72 hours
- Any areas of the lip that appear white or grey in the first 24 hours (possible vascular compromise — very rare but contact provider immediately)
Lip Blush vs. Lip Filler Aftercare: Key Differences
Clients sometimes confuse these two procedures since both address the lips. The aftercare is meaningfully different:
| Lip Blush | Lip Filler | |
|---|---|---|
| What was done | Pigment tattooed into lip dermis | HA gel injected beneath lip tissue |
| Primary risk | Pigment loss, infection of healing wound | Filler displacement, vascular compression |
| Water restriction | Avoid getting lips wet 10 days | No restriction after 24 hours |
| Makeup restriction | No makeup on lips 10–14 days | No makeup 4–24 hours |
| Healing duration | 4–6 weeks for full pigment settlement | 2 weeks for full filler integration |
| Touch-up needed | Yes, at 6–8 weeks | Optional, at 2 weeks if asymmetric |
| Exercise restriction | 48–72 hours | 24–48 hours |
If you have both procedures, they should be scheduled at least 4 weeks apart — ideally fillers first, then lip blush once the filler has fully integrated.
For Aesthetic Practitioners
Lip blush is one of the procedures with the highest rate of panic calls during healing — almost entirely driven by the ghosting phase. Clients who were not told to expect the color to near-disappear in week 2 call convinced the procedure has failed. A professional aftercare sheet with a clear week-by-week preview of what is normal eliminates the majority of these calls.
Related guides: microblading aftercare healing process · microblading vs powder brows · lip filler swelling stages
AftercareGen generates clinic-branded lip blush aftercare documents in seconds — including the healing timeline, food restrictions, product guidance, and your clinic contact information.
Stop photocopying aftercare sheets
Generate Lip Blush aftercare instructions branded with your clinic name in under 60 seconds. 3 free sheets per day — no credit card.
Generate your first sheet freeGet the free aftercare template pack
Generators for all 13 aesthetic procedures plus practical guides on running aftercare in your clinic. Sent once — no spam, ever.
Frequently asked questions
About the author
Dr. Megan Cole, RN, BSN
Aesthetic Nurse Practitioner
Registered Nurse with 12+ years in medical aesthetics. Certified injector (AAFE) specializing in neurotoxins and soft-tissue fillers. Clinical educator for aesthetic nursing programs.
View profile