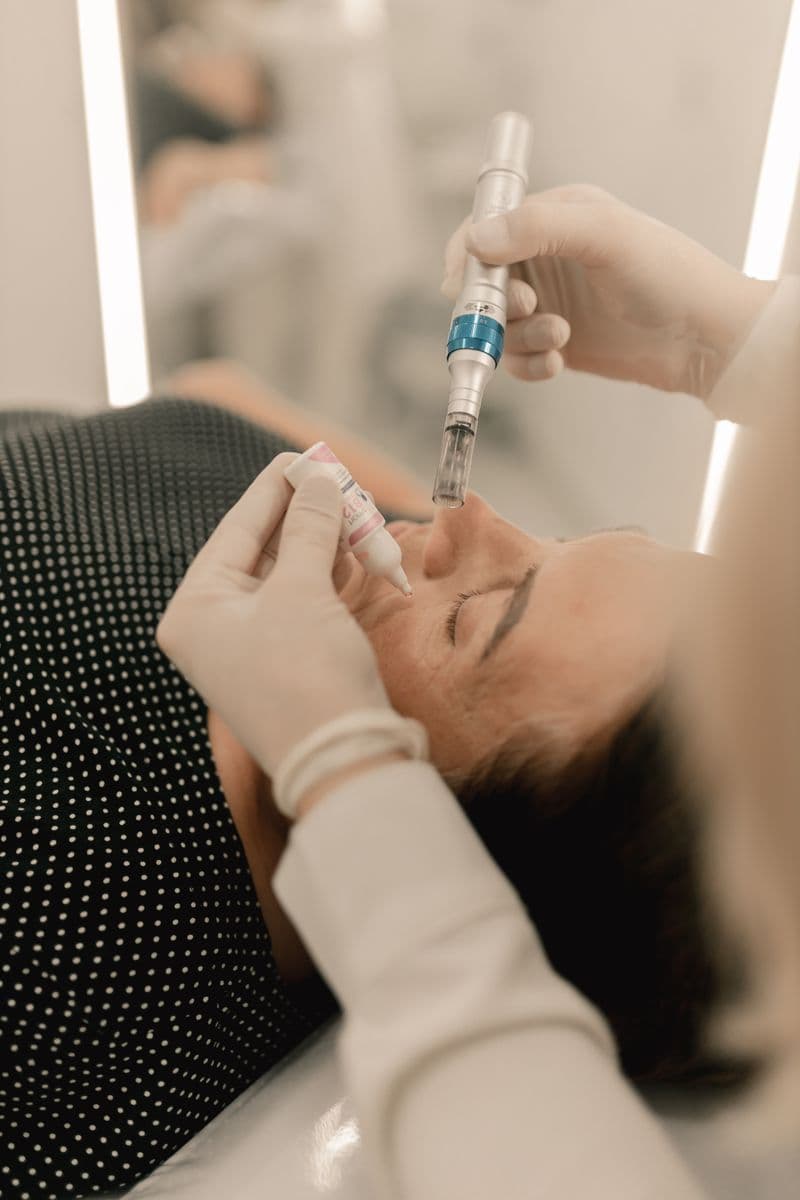
The right aftercare after microneedling is not optional — it is where a significant portion of your results are won or lost. The micro-channels created by the needles are an asset: they allow therapeutic serums to penetrate far deeper than normal. But those same channels are a liability if you put the wrong thing on your skin, skip SPF, or get back to the gym too soon.
The most common outcomes from poor microneedling aftercare are: prolonged redness, breakouts (bacteria entering micro-channels), and post-inflammatory hyperpigmentation (PIH) — the darkening of skin in response to inflammation, which is particularly prevalent in Fitzpatrick skin types III–VI and can take months to resolve.
This protocol is organized by day and divided into do's and don'ts so you can follow it without having to interpret anything.
What Microneedling Does to Your Skin (and Why Aftercare Matters)
Microneedling (also called collagen induction therapy) uses fine needles — 0.5mm to 2.5mm in depth depending on the treatment — to create thousands of controlled micro-injuries in the skin. These micro-injuries trigger the wound healing cascade:
- Inflammatory phase (days 0–3): Platelets and immune cells flood the area, releasing growth factors that signal fibroblasts to begin repair.
- Proliferative phase (days 3–21): Fibroblasts produce new collagen (type III initially, then type I) and elastin.
- Remodeling phase (weeks 3–6 months): New collagen matures and reorganizes, producing visible skin texture improvement.
Aftercare matters because it protects and supports this cascade. Introducing bacteria, UV radiation, inflammatory actives, or heat during the inflammatory phase can derail the healing sequence — producing PIH instead of the collagen you paid for.
The Complete Do's and Don'ts: Day by Day
Immediately after treatment (hours 0–6)
DO:
- Apply whatever your provider puts on your skin in-clinic (typically hyaluronic acid serum and/or growth factor serum) — do not wipe it off
- Use a clean, cold compress wrapped in a cloth if you are experiencing heat and discomfort
- Keep your hands away from your face
- Stay indoors or in shade; if going outside, wear a wide-brim hat
DON'T:
- Wash your face for at least 6 hours (or until the next morning if your provider instructs)
- Apply any skincare products from your own routine
- Apply makeup
- Touch or pick at your skin
- Exercise, use a sauna, or take a hot shower
- Consume alcohol (vasodilator — worsens inflammation)
Day 1 (first 24 hours)
DO:
- Wash gently with lukewarm water and a plain, fragrance-free cleanser (Vanicream, CeraVe Hydrating Cleanser) if your provider permits
- Pat dry — never rub
- Apply a fragrance-free, barrier-supporting moisturizer: CeraVe Healing Ointment, Aquaphor, or Vaseline original
- Apply a broad-spectrum SPF 30+ mineral sunscreen (zinc oxide or titanium dioxide — not chemical filters, which can irritate compromised skin) if going outside
- Stay hydrated; drink plenty of water
DON'T:
- Use any active ingredients: no retinol, no vitamin C, no AHAs/BHAs, no niacinamide (niacinamide can be reintroduced at day 3–5 for most patients, but err on the side of caution day 1)
- Wear makeup
- Exercise or do hot yoga
- Use a Clarisonic, face brush, or any cleansing device
- Pick at any peeling, flaking, or pinpoint scabbing
- Sleep face-down
Day 2
The skin will typically look its best or worst depending on treatment depth. Standard 0.5–1.0mm treatments often produce minimal visible redness by day 2. Deeper treatments may still appear significantly flushed.
DO:
- Continue the gentle cleanse → barrier moisturizer → mineral SPF routine
- If tolerated, add a plain hyaluronic acid serum (no other actives, no fragrance) between cleanser and moisturizer
- Use a cool (not hot) shower
- Begin returning to gentle, non-sweating activity if redness is minimal
DON'T:
- Introduce actives yet — not even vitamin C or low-percentage AHAs
- Use chemical sunscreen (benzophenone, octinoxate, avobenzone) — these penetrate deeper in compromised skin and can cause contact sensitization
- Peel, pick, or rub any dry skin or flaking
Days 3–4
Most patients with standard-depth treatments are largely healed on the surface by day 3. Deeper treatments or sensitive skin may still have residual redness or tightness.
DO:
- Reintroduce niacinamide if tolerated (it supports the skin barrier and has anti-inflammatory properties — helpful at this stage)
- Resume light, non-sweating exercise if redness has fully resolved
- Apply makeup if needed — mineral formulas only, applied with a clean brush or clean fingertip
DON'T:
- Reintroduce retinol, AHAs, or vitamin C yet
- Exercise intensely or sweat heavily
- Use abrasive scrubs or exfoliating tools
- Expose skin to direct sunlight without SPF
Days 5–7
This is the reintroduction window for most actives — but do it one ingredient at a time to identify any irritant reactions.
DO:
- Reintroduce vitamin C serum (start with a low percentage: 10–15% ascorbic acid, or use a gentler derivative like ascorbyl glucoside)
- Reintroduce low-percentage AHA if your routine includes it (start with 5–8% glycolic or lactic, not your normal percentage)
- Resume your full normal cleansing routine
- Return to all exercise
DON'T:
- Reintroduce retinol until day 7 at the earliest — and then start at your lowest concentration
- Use a physical exfoliant (scrub) until day 10–14
- Combine multiple new reintroduced actives on the same day; stagger them by 24–48 hours to identify any reactivity
After day 7: Normal routine resumes
By day 7–10, you can fully resume your pre-treatment skincare routine. Continue daily SPF — you are in the active collagen remodeling phase, and UV exposure during this window can trigger PIH and negate the investment you made in treatment.
The Microneedling Aftercare Non-Negotiables
If you follow nothing else, follow these five rules:
1. SPF every single day for at least 30 days post-treatment. Collagen remodeling continues for months after microneedling. UV exposure during this window causes inflammation that directly interferes with the remodeling process and is the primary driver of PIH. A broad-spectrum SPF 50 applied every morning — rain, clouds, or shine — is non-negotiable.
2. Do not pick. Ever. The pinpoint scabbing and flaking that occurs on days 1–4 is the surface of the healing process. Picking lifts healing tissue prematurely, introduces bacteria, and causes scarring or hyperpigmentation. If your skin is visibly peeling, apply more moisturizer and let it fall off naturally.
3. No heat for 24–48 hours. Body heat, environmental heat, spicy food, saunas, steam rooms, and intense exercise all contribute to post-inflammatory response. Keeping skin cool in the first 48 hours measurably reduces downtime.
4. Keep it simple for the first week. The desire to maximize results by layering serums in the first few days is counterproductive. Micro-channels do allow deeper penetration — but that works for irritants as effectively as for beneficial ingredients. The first 48 hours are about barrier protection, not actuation. Aquaphor and mineral SPF is the right protocol, not your 10-step routine.
5. Avoid AHAs and retinol for 5–7 days minimum. These two ingredients are the most common source of post-microneedling complications because patients assume "more active = faster results." In compromised skin, they cause inflammation, not improvement. If you use prescription tretinoin, discuss the reintroduction timeline with your provider — it may be 7–10 days or longer.
Ingredients: Safe vs. Avoid for the First Week
| Ingredient | First 24 hrs | Days 2–4 | Day 5–7 |
|---|---|---|---|
| Fragrance-free moisturizer | ✅ | ✅ | ✅ |
| Mineral SPF (zinc oxide) | ✅ | ✅ | ✅ |
| Plain hyaluronic acid | ❌ | ✅ | ✅ |
| Niacinamide | ❌ | ✅ (day 3) | ✅ |
| Vitamin C | ❌ | ❌ | ✅ (day 5–7) |
| Low-% AHA/BHA | ❌ | ❌ | ✅ (day 7) |
| Retinol / tretinoin | ❌ | ❌ | ✅ (day 7, low %) |
| Physical scrub | ❌ | ❌ | ❌ (wait day 10–14) |
| Chemical SPF | ❌ | ❌ | ✅ |
| Fragrance / alcohol | ❌ | ❌ | ✅ |
Signs Your Skin Is Healing Normally vs. Signs to Call Your Provider
Normal healing:
- Pink or red skin for 24–72 hours (up to 5 days for deeper treatments)
- Tightness and mild dryness
- Pinpoint scabbing or brown dots at needle sites
- Light peeling or flaking on days 3–5
- Skin feeling warm to the touch for the first day
Call your provider if you experience:
- Redness spreading beyond treated area
- Skin that is hot, swollen, and painful after 48 hours (worsening, not improving)
- Fever or flu-like symptoms
- Pustules or infected-appearing breakouts (not small, non-inflamed whiteheads)
- Significant PIH (darkening) appearing within the first week
Why Your Provider Gives You Aftercare Instructions — and Why You Should Read Them
Microneedling is a procedure, not just a treatment. The clinical work ends when you leave the clinic. The aftercare is your job, and it accounts for a measurable percentage of your final outcome.
The most common reasons microneedling results disappoint are: inadequate SPF compliance, premature reintroduction of retinol or AHAs, picking at peeling skin, and heat exposure in the first 48 hours. All of these are aftercare failures, not treatment failures.
If your clinic provided you with written aftercare instructions — keep them. Reference them daily during the first week. If they didn't, ask for them, or use AftercareGen to generate a professional aftercare sheet for microneedling that you can print and follow at home.
Stop photocopying aftercare sheets
Generate Microneedling aftercare instructions branded with your clinic name in under 60 seconds. 3 free sheets per day — no credit card.
Generate your first sheet freeGet the free aftercare template pack
Generators for all 13 aesthetic procedures plus practical guides on running aftercare in your clinic. Sent once — no spam, ever.
Frequently asked questions
About the author
Dr. Megan Cole, RN, BSN
Aesthetic Nurse Practitioner
Registered Nurse with 12+ years in medical aesthetics. Certified injector (AAFE) specializing in neurotoxins and soft-tissue fillers. Clinical educator for aesthetic nursing programs.
View profile